I have no artistic background so I felt blessed when I received the
Monthly Plan from
Creating a Masterpiece to review which provided my daughter with formal art instruction at a level I could not teach. We were thrilled when we found out that we were chosen as reviewers and would receive a 6-month online subscription to this program giving us
unlimited access to the video lessons for the
entire family. It was developed and taught by professional master artist, Sharon Hofer.
Creating a Masterpiece is an online art instructional program which is suitable for children as young as 5 years old and up. However, people of
ALL ages will enjoy this program. Younger children will need assistance. The instructor explicitly teaches art technique and theory using several different art mediums and elements.
The program is organized into six levels including a Beginner Level and Levels 1-5. They also recently added an Art in History Level which currently consists of five art projects emphasizing artwork created during that time period.
Some of the projects from the Art in History component will be more appropriate for older students. We will hopefully attempt The Eagle art project from the Post-Impressionism Period done with acrylic paints and we look forward to trying the beautiful Enchanted Valley Oil Painting from the Romanticism Period. The art levels increase or progress in difficulty level from simple projects to more challenging art projects.

There are about 56 online video art lessons which emphasize the creation of your own masterpiece. Clear step-by-step directions are given. The Beginner, Level 1, and Level 2 consists of 9 projects each and Levels 3, 4, and 5 have 8 projects at the time of this review. They are consistently adding more projects to the leveled collections. Each project is further broken down into lesson segments or sessions. The Beginner lessons can easily be completed during one session if desired. The rest of the leveled video lessons consisted of at least 3-7 sessions. The projects took at least an hour to complete so you may want to break it up into individual sessions. Some projects may require drying time in between sessions. On an average, there are 3-4 lessons under each art project for Levels 1-5. Some projects had the added bonus of a practice drawing session which enabled the user to practice the skills necessary to complete an aspect of the larger art project.
Art Mediums
A variety of art mediums are utilized in this program.
- Charcoal
- Mixed Media
- Colored Pencils
- Acrylic Paints
- Oil Pastels
- Soft Pastels
- Alcohol Ink
- Silk Painting
- Watercolor
- Pencil Drawing
- Sculpture
- Ink
- Copper Tooling
- Wood Burning
- Balsa Carving
- Batik
- Glass Mosaic
- Block Printing
- Conte' Crayon
- Gouache
- Oil Painting
- And More
How We Used Creating a Masterpiece
I used Creating a Masterpiece with my nine-year-old daughter, Alyssa as her core Fine Arts curriculum. We used this homeschool art program on our MAC computer. You will need high-speed Internet access in order to stream or view the videos online. We preferred using Chrome as our main browser. We enjoyed viewing the lesson in full-screen format. My daughter and I set up a long, large table in the kitchen so that paint wouldn't stain the carpet in the bedroom. I also placed a table cover over the work area. This table area provided us with more work space. The art supplies were kept in
an art caddy nearby for immediate access.
After gaining access to the online subscription content, Alyssa and I spent a lot of time exploring the website. She made a long list of art projects that she wanted to attempt. We began with lessons that utilized art mediums we already owned such as acrylic paint, watercolor, oil pastels, and soft chalk pastels. A list of color-coded art mediums utilized in the program is found on the far left-side of the screen. Color-coded dots indicate the type of art medium. We clicked on the art medium that matched the supplies we had on hand to see all of the program's projects using that medium, because she wanted to get started immediately. After choosing an art medium and project, we viewed the supply lists to see if any other items were needed. You can also click on Supplies under Resources on the left-bottom side to view a list of supplies for any particular project. We found many items at our local craft store. I also placed a large order online using the links provided within the Creating a Masterpiece website. I even received a discount from Dick Blick Art Materials after signing up for their newsletter.
We tried several different art mediums and new types of paper during the review period. Sharon Hofer suggests using high-quality materials making the end result better and more professional. We eventually invested in several more art mediums such as Bombay Ink and Sculpey Oven-Bake Clay in order to explore new techniques. Art is one of Alyssa's favorite subjects so I want her to be successful and for her experience with the program to be positive.
I assigned Art 2-4 times per week. We usually divided the project's lesson into sessions based on the number of lesson segments listed under each project. The art projects were already segmented into shorter sessions which made the process of spreading one project up throughout the week easier. My daughter worked on her art projects for about 25 minutes to 1 hour per day depending on the number of video lessons completed. We aimed to complete at least 1-2 art masterpieces each week. She usually spent 1-3 days on one project. We focused our attention on the Beginner and Level 1-3 projects. I allowed Alyssa to choose the projects based on her interests. She chose several animal and scenic masterpieces to create. Sometimes she would work until I told her it was stopping time. We usually completed 1- 2 sessions a day. We worked on art projects during the late afternoons or at night after all assigned work has been completed.
The layout for each art project was consistent and well-organized. Under each art project, you will notice a
Summary of Objectives,
Helpful Tips,
Lesson Highlights,
Downloads, and
Advanced Applications. Helpful tips were indicated for each portion of the art projects. For example, when using the soft pastels Sharon stated that an easel was not needed and that it was easier to use soft pastels when the art project lays flat on the table. She reminded the students that water ruins soft pastels. She also encouraged them to break the pastels into smaller pieces and to use a dry paper towel to erase mistakes or excess paint. She reminds you to
only use your fingers to blend. Breaking the pastels was the hardest part for us, but we finally gave in and broke the pieces. We quickly understood the purpose for doing so when working with the medium. Under the
Helpful Tips section, she included a
Press a Pastel Chart that could be enlarged showing the results of pressing soft pastels too hard or too light. The
Lesson Highlights section contains colored "sample" images of the art project and what's to come for each segment. The
Advanced Application section contains examples of student follow-ups or reference projects where students implemented or applied the usage of a particular related skill to their own masterpieces. Sharon Hofer also included a high resolution art project image in full color, a complete bulleted supply list available in PDF format, and a link to the Dick Blick Art Materials online store to purchase the necessary supplies for that
specific project under the
Downloads section. The supply list contained both household and artistic items needed. I was able to check off supplies we had at home and highlight supplies needed for specific projects. I gathered materials for at least 1-2 art projects at a time.
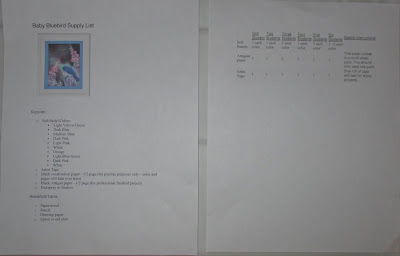 |
| Supply List |
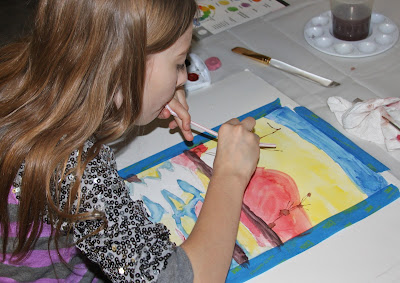
We read the teaching tips before each video lesson. In the first video, she shows the art materials needed for the project. Alyssa watched the video lesson as she worked on her masterpiece. For more complicated projects, my daughter viewed the drawing portion of the lesson first to gain familiarity with the process and watched it again the next day while working. We loved that we could pause or rewind the video lesson. Alyssa could pause the video to complete a step before moving on or she could watch a technique more than once if desired. I was usually nearby when she was working independently so that I could handle the mouse. She normally had messy hands and didn't want to paint the computer mouse. For some projects we used pre-moistened studio wipes to clean off our hands.
The first project we completed was the
Baby Bluebird from Level 1. We completed this project together as part of our special mother-daughter time. It was divided into four lessons. The project required black construction paper, Artagain drawing paper, and soft pastels. We cut the paper down to a 6" by 9" size. We used The Fine Touch and Gallery Soft Pastels. She learned how to highlight areas were the sun hit plants using the soft pastels. She also learned basic foundational drawing skills including a simple technique utilized to create the flowers. The color selection was perfect and reminded her of the aurora or northern lights. One key tip is that the kind of paper you use is just as important as the pastel.
 |
| Baby Bluebird Using Soft Pastels On Artagain Paper |
Alyssa learned how to
Mix Media in her Candlelight project from the Beginners Level. We used oil pastels and watercolor paint on Bristol paper. She was disappointed in the results after applying the watercolor wash. The black oil pastel smeared and the entire project seemed too dark. She said that she would not use watercolors next time because it ruined her picture and made her cry. We both liked our pictures before the watercolor wash. In the end the project was still a success. We learned how to draw a flickering flame using shapes and lines and how to highlight specific areas as if the light were hitting it. I liked the idea of the rough edges. One tip to remember are to dab the watercolor quickly with a paper towel after applying the watercolor wash over the top of the candle. Another tips is to remind your child to draw or sketch lightly.
 |
| Before the Watercolor Wash |
 |
| Candlelight Mixed Media on Bristol Paper |
One night after dinner I decided to use my old set of charcoals. I opened the
Sailboat Adventure from the Beginners Level and quickly completed it. I rushed through it, but enjoyed the lesson. At that point my daughter had never used charcoals so she was intrigued with the medium. She decided the next day to attempt the same project and charcoals became one of her new favorite mediums. She also couldn't believe that she had actually drawn a sailboat. The directions and tips were easy for her to follow. The instructor taught her how to show movement with the waves using smudges and an eraser.
 |
| Charcoal Sailboat Adventure |
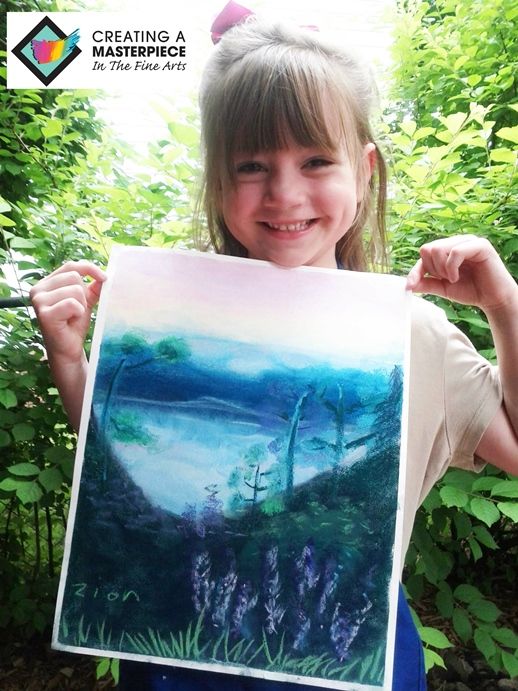
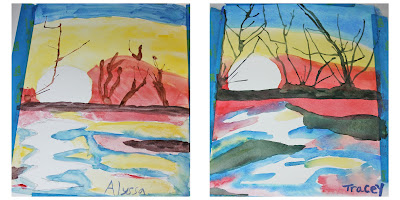
We had a blast working on
The African Sunset from the Beginners Level! Our favorite part was the tree branch blowing technique. We actually blew through long thin straws to create spooky trees against the blazing orange sunset. The practice session tutorial was extremely helpful. She taught Alyssa the basics about using watercolor paints. There were only two video sections. Be sure to have a color wheel on hand for this project. I am thankful that the professor reminded her to sketch the image lightly on the paper. I also didn't realize that an iron could be used to flatten the watercolor paper. I thought that I bought high quality watercolors, but the color pigmentation was not as bright as the sample project. We used Prang watercolors.
 |
| African Sunset Completed With Watercolors |
 |
| Tree Branch Blowing |
The Caribbean Lighthouse project combined several different techniques over 4 lessons. The basics of Acrylic painting on canvas were explored as the Sharon sequentially taught the steps to create a lighthouse. Positioning items in order to create a good composition and the use of perspective was emphasized. In addition to those skills, my daughter learned about water reflections and how to draw wispy trees. She also learned about how to paint distant and far away objects and how to mix Acrylic paints to a desired color.
 |
| Acrylic Painted Caribbean Lighthouse |
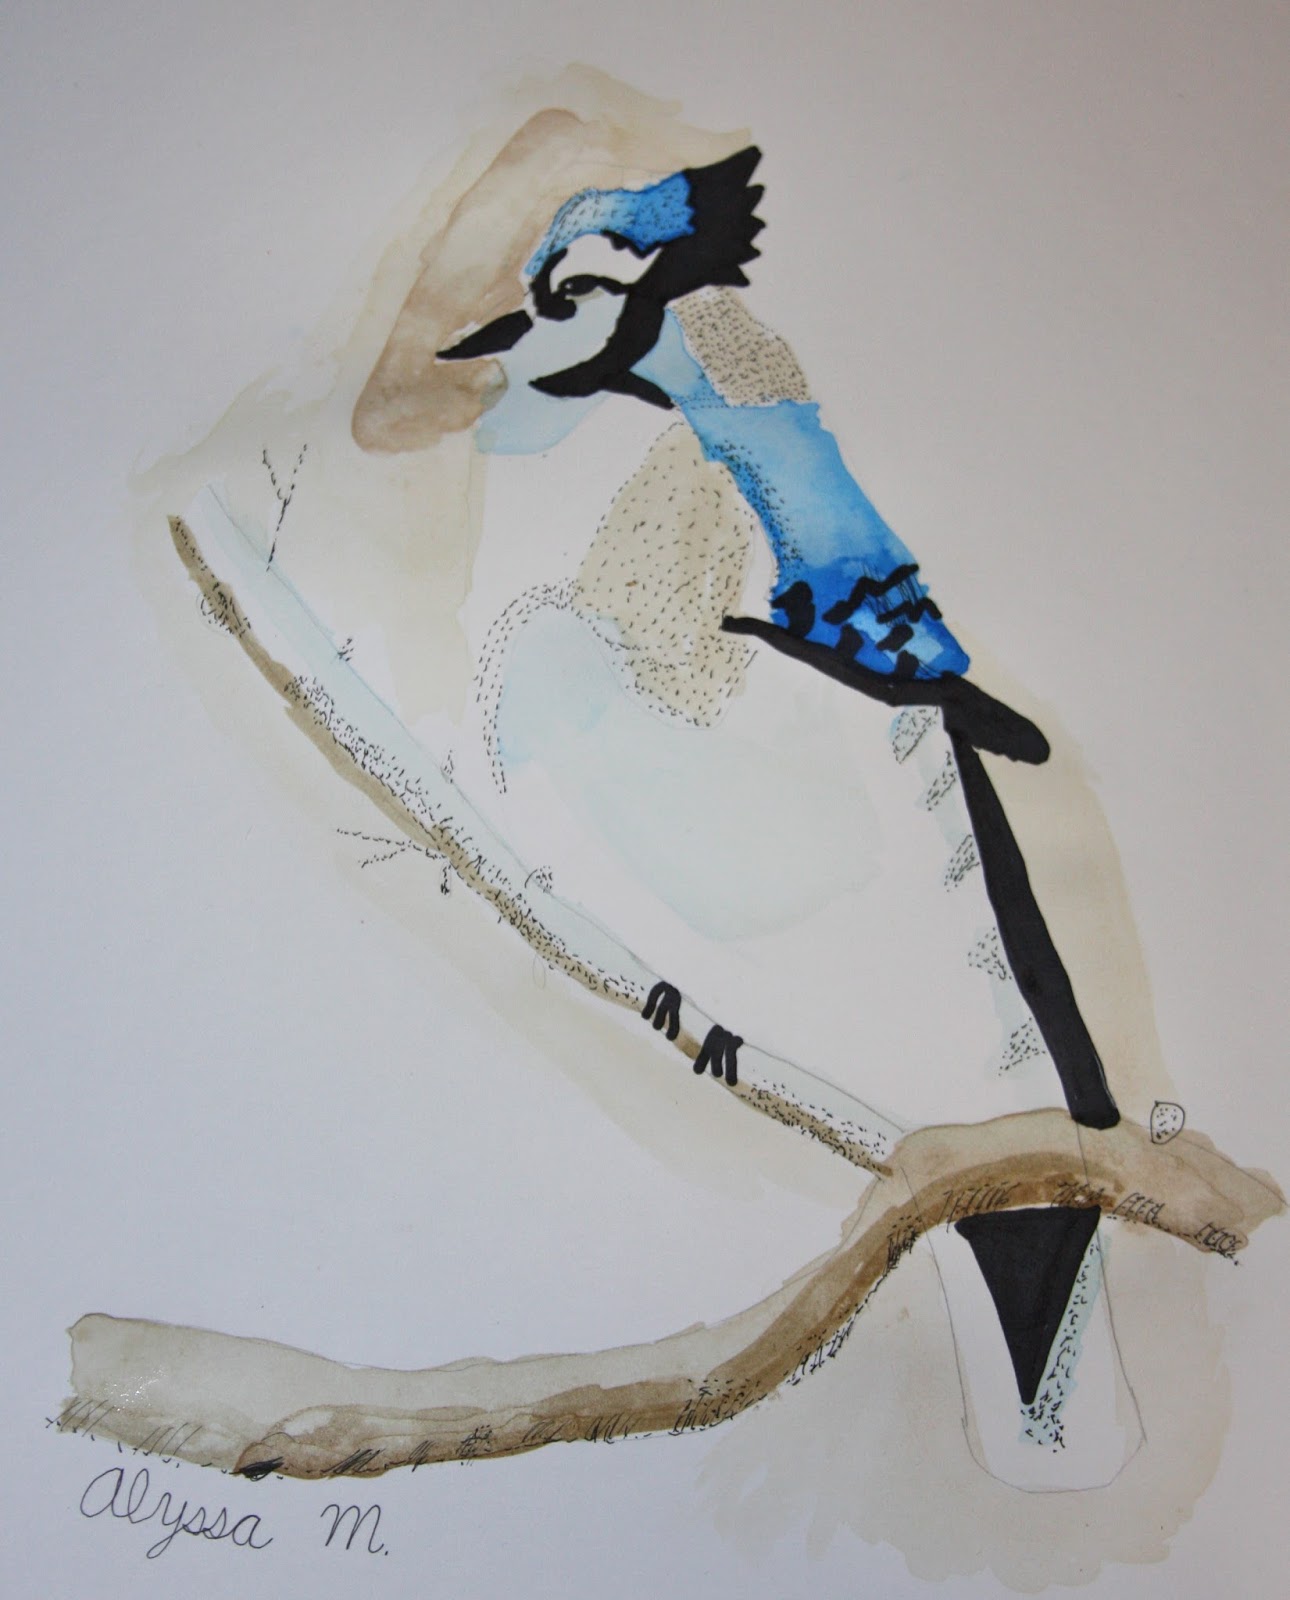
The
Blue Jay from Level 3 incorporated the stippling technique into an inked project. Alyssa was excited to learn about stippling. First, she drew the Blue Jay using a fine black Sharpie marker. She used colored Bombay ink to enhance the painting. The teacher briefly discussed the use of shadows. My daughter had a difficult time blending colors and spreading them on the paper before they dried. She is also still figuring out how to position items in a picture.
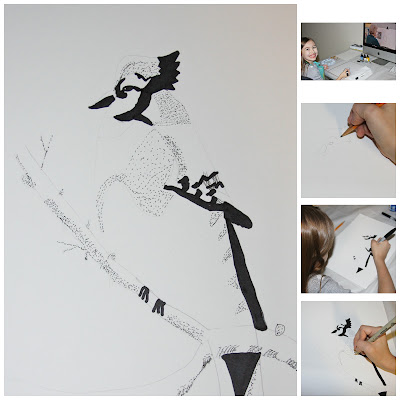 |
| Sequential Steps and Stippling |
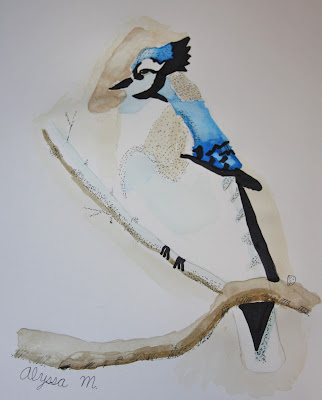 |
| Bluejay Using Black Markers and Bombay Ink |
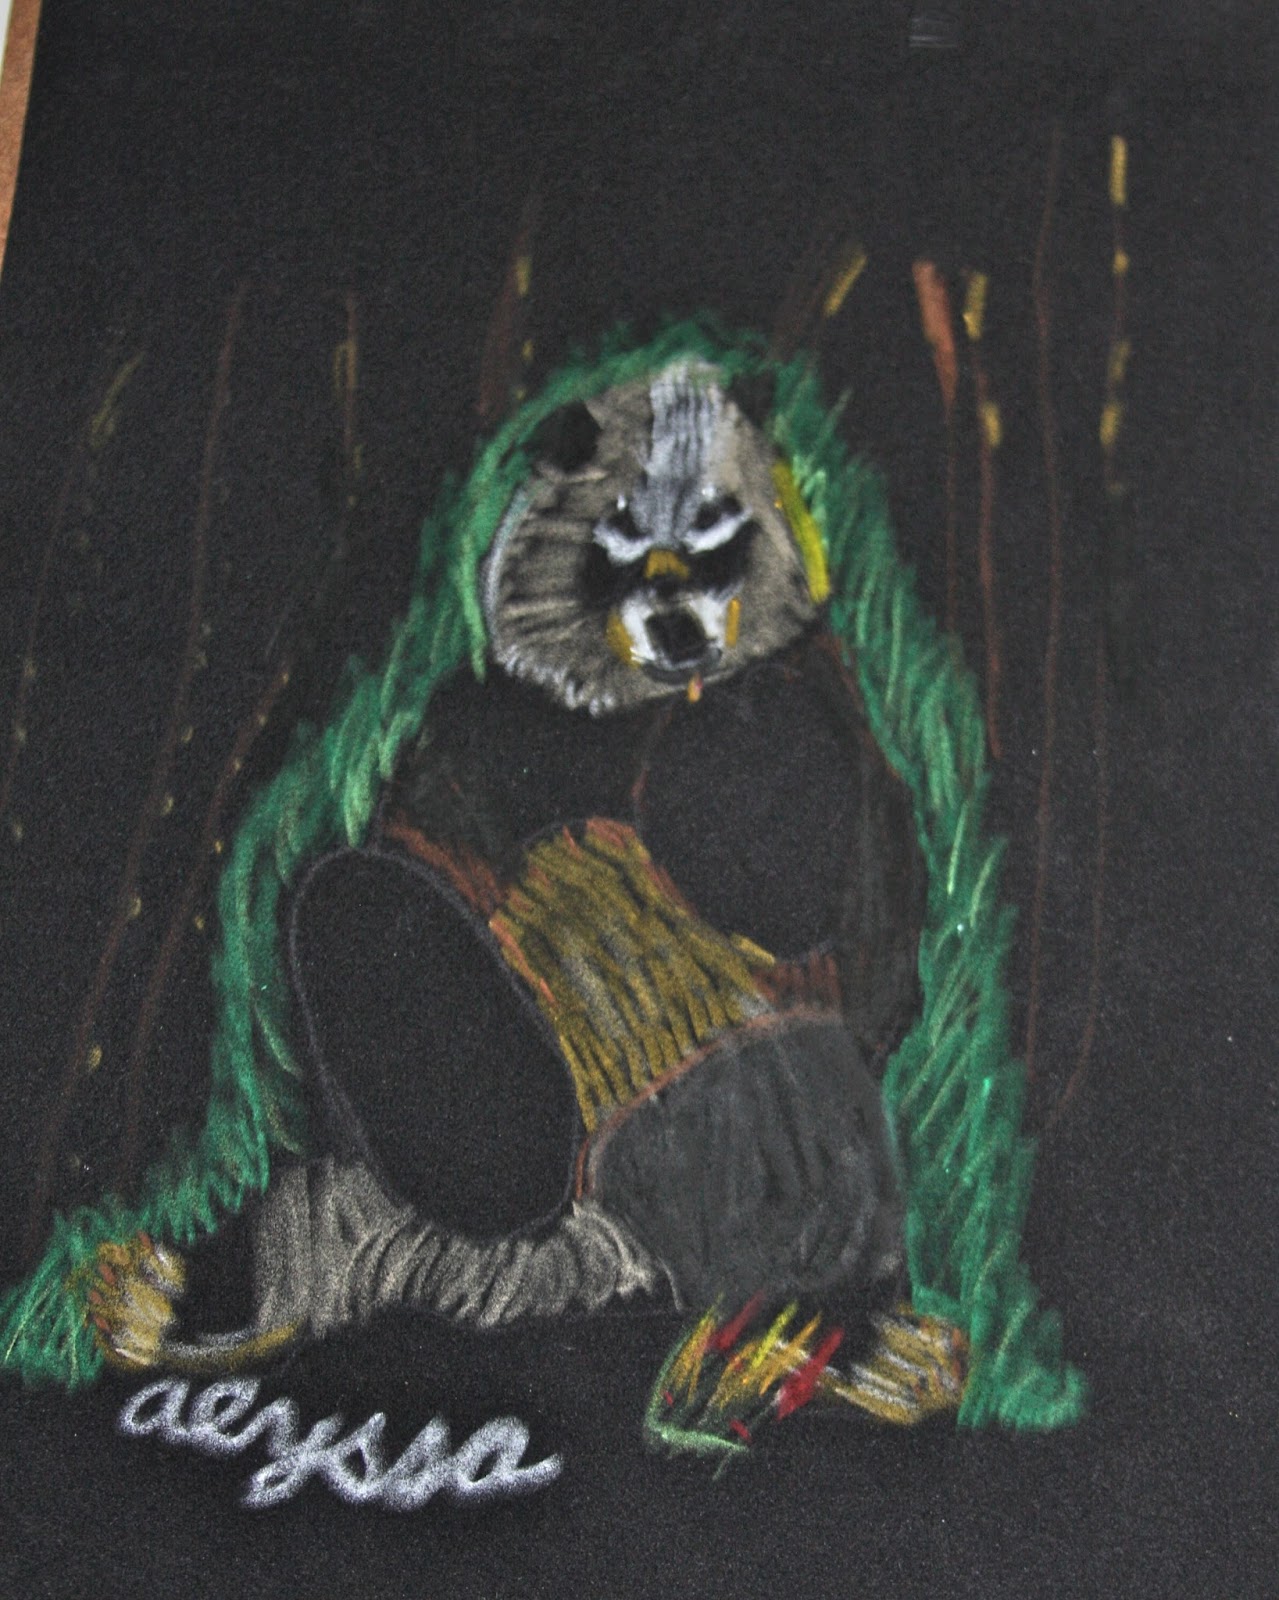
We waited patiently for our black Velour paper to arrive so that we could attempt the
Panda from Level 2. I had to cut the paper to the correct size, because it arrived as a large sheet or poster board. We were both fascinated with the texture of this type of paper which felt like soft velvet. It was super soft and made blending easier. For this project we used oil pastels. Sharon taught her how to use shapes to draw a simple panda on tracing paper. The image was transferred onto Velour paper. She later added bamboo trees in the background. Unfortunately our set of oil pastels did not include the correct gray color. I told her to choose the color closest to the color in the video. We used two types of oil pastels: Cray-Pas and Pentel Arts. The second set provided more color choices and worked best on Velour. The first set didn't yield the best results.
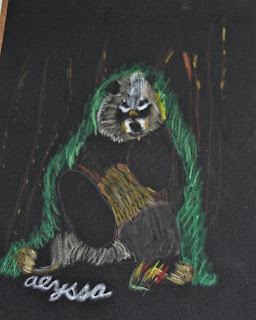 |
| Panda on Black Velour Paper Using Oil Pastels |
Overall Thoughts and Results
I absolutely adore this program! It was an awesome addition to our homeschool day. The teacher is passionate and encouraging. Her easy-to-follow directions were given clearly. She always gives useful tips throughout the video lesson reminding students of things to do or what to be careful for. The tips and techniques can transfer to other projects too. My daughter could easily complete many of the step-by-step video lessons independently, because of her maturity level and background experience. Minimal help was provided. The stopping points for each segmented video were perfect.
I never knew that there were so many different types of paper each yielding different results depending on the medium utilized. I really appreciate that the art materials can be purchased individually for each chosen project and that detailed lists are also provided. I was thoroughly impressed with the number of art mediums and techniques addressed.
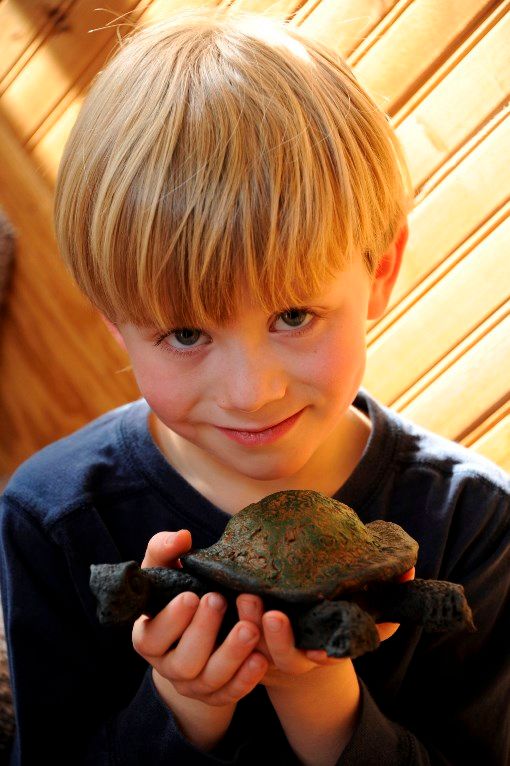
The artwork results are stunning! I'm glad that I invested in higher-quality art materials. I am currently looking for an affordable way to display my daughter's artwork. Alyssa's favorite art mediums were the soft pastels, charcoal, and ink. I was proud of her accomplishments using this homeschool art curriculum and I believe the end results surprised my daughter as well. She has so many more projects that she wants to attempt this year. This week we will sculpt a rabbit. We are also looking forward to sculpting the turtle in the future. This is an exceptional art curriculum!
I wish that the company added video times after each lesson segment to make planning easier. I also felt like the videos were a little too fast. There were a few times we both couldn't keep up with the lesson, but we were thankful that we could pause it.
Recommendations
I definitely recommend purchasing Creating a Masterpiece for your children. I highly recommend this valuable program to
all homeschool families if you can afford it
especially if you have children who love art. If you are looking for guided art lessons that offer a variety of projects, mediums, and techniques, then you should see if this art instruction program is a good fit for your family. You could easily use this program with smaller co-op groups - just check the website for pricing information. I believe that Eclectic, Thematic, Unit Study, Delight-Directed, Classical, and Charlotte Mason homeschool families could all appreciate the features and format of this program. Sharon does mention glorification of God in several of her lessons.
My hope is that my daughter will create several art projects to give as birthday, Easter, and Christmas gifts to family and close friends throughout the year. I wish that I could afford to renew our subscription after it expires, but there's no way I can with my single mom budget. If I had the extra money, then I would definitely purchase it.
Prices
Monthly Plan $39.99 per month
Yearly Plan $349
Individual Level Plans $119-$199
Co-op or Group Setting $450 + $35/student for 1 year (5-100 students)
Sign up for unlimited access to a FREE lesson and view
Sample Videos on their website without entering a credit card. There's also an introductory video you can watch.
Note: Supply costs vary depending on the projects you decide to complete. All prices are subject to change without notice.
Social Media
Facebook
Visit the
Homeschool Review Crew blog to read other reviews about
Creating a Masterpiece.